¶ Installation & Setup Guide – AI Chatbot
¶ 1. Configure the AI Assistant in the Nitro Pulse Dashboard
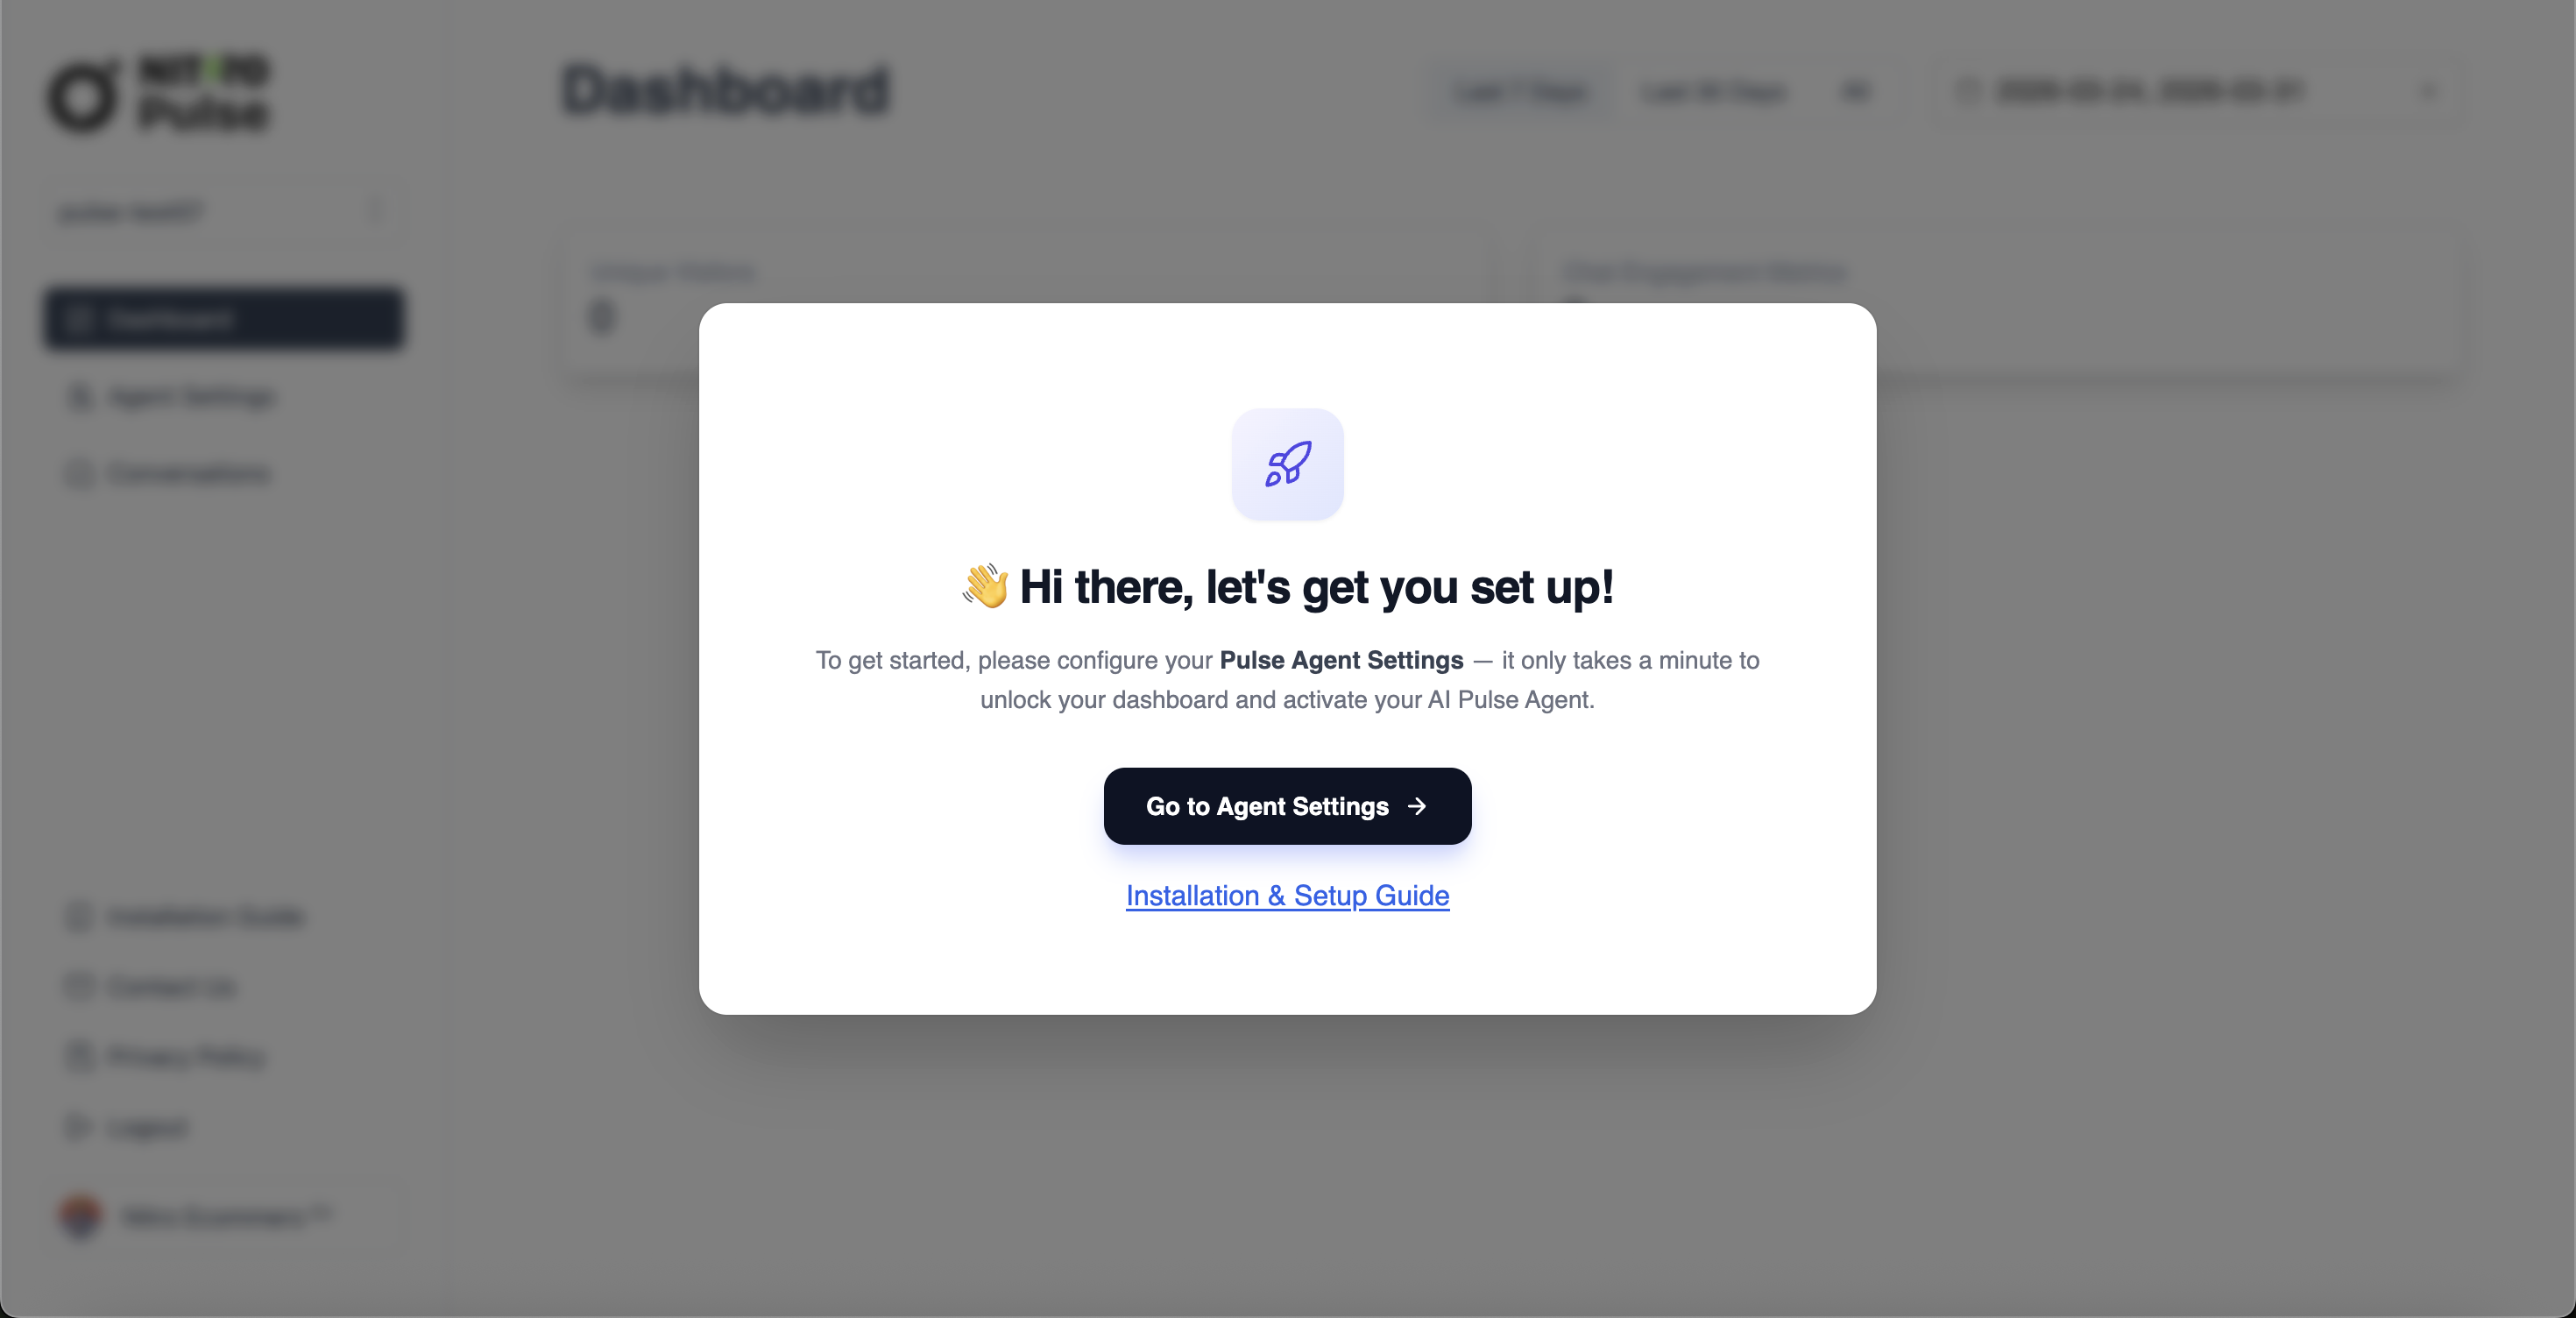
- Open the Nitro Pulse Dashboard.
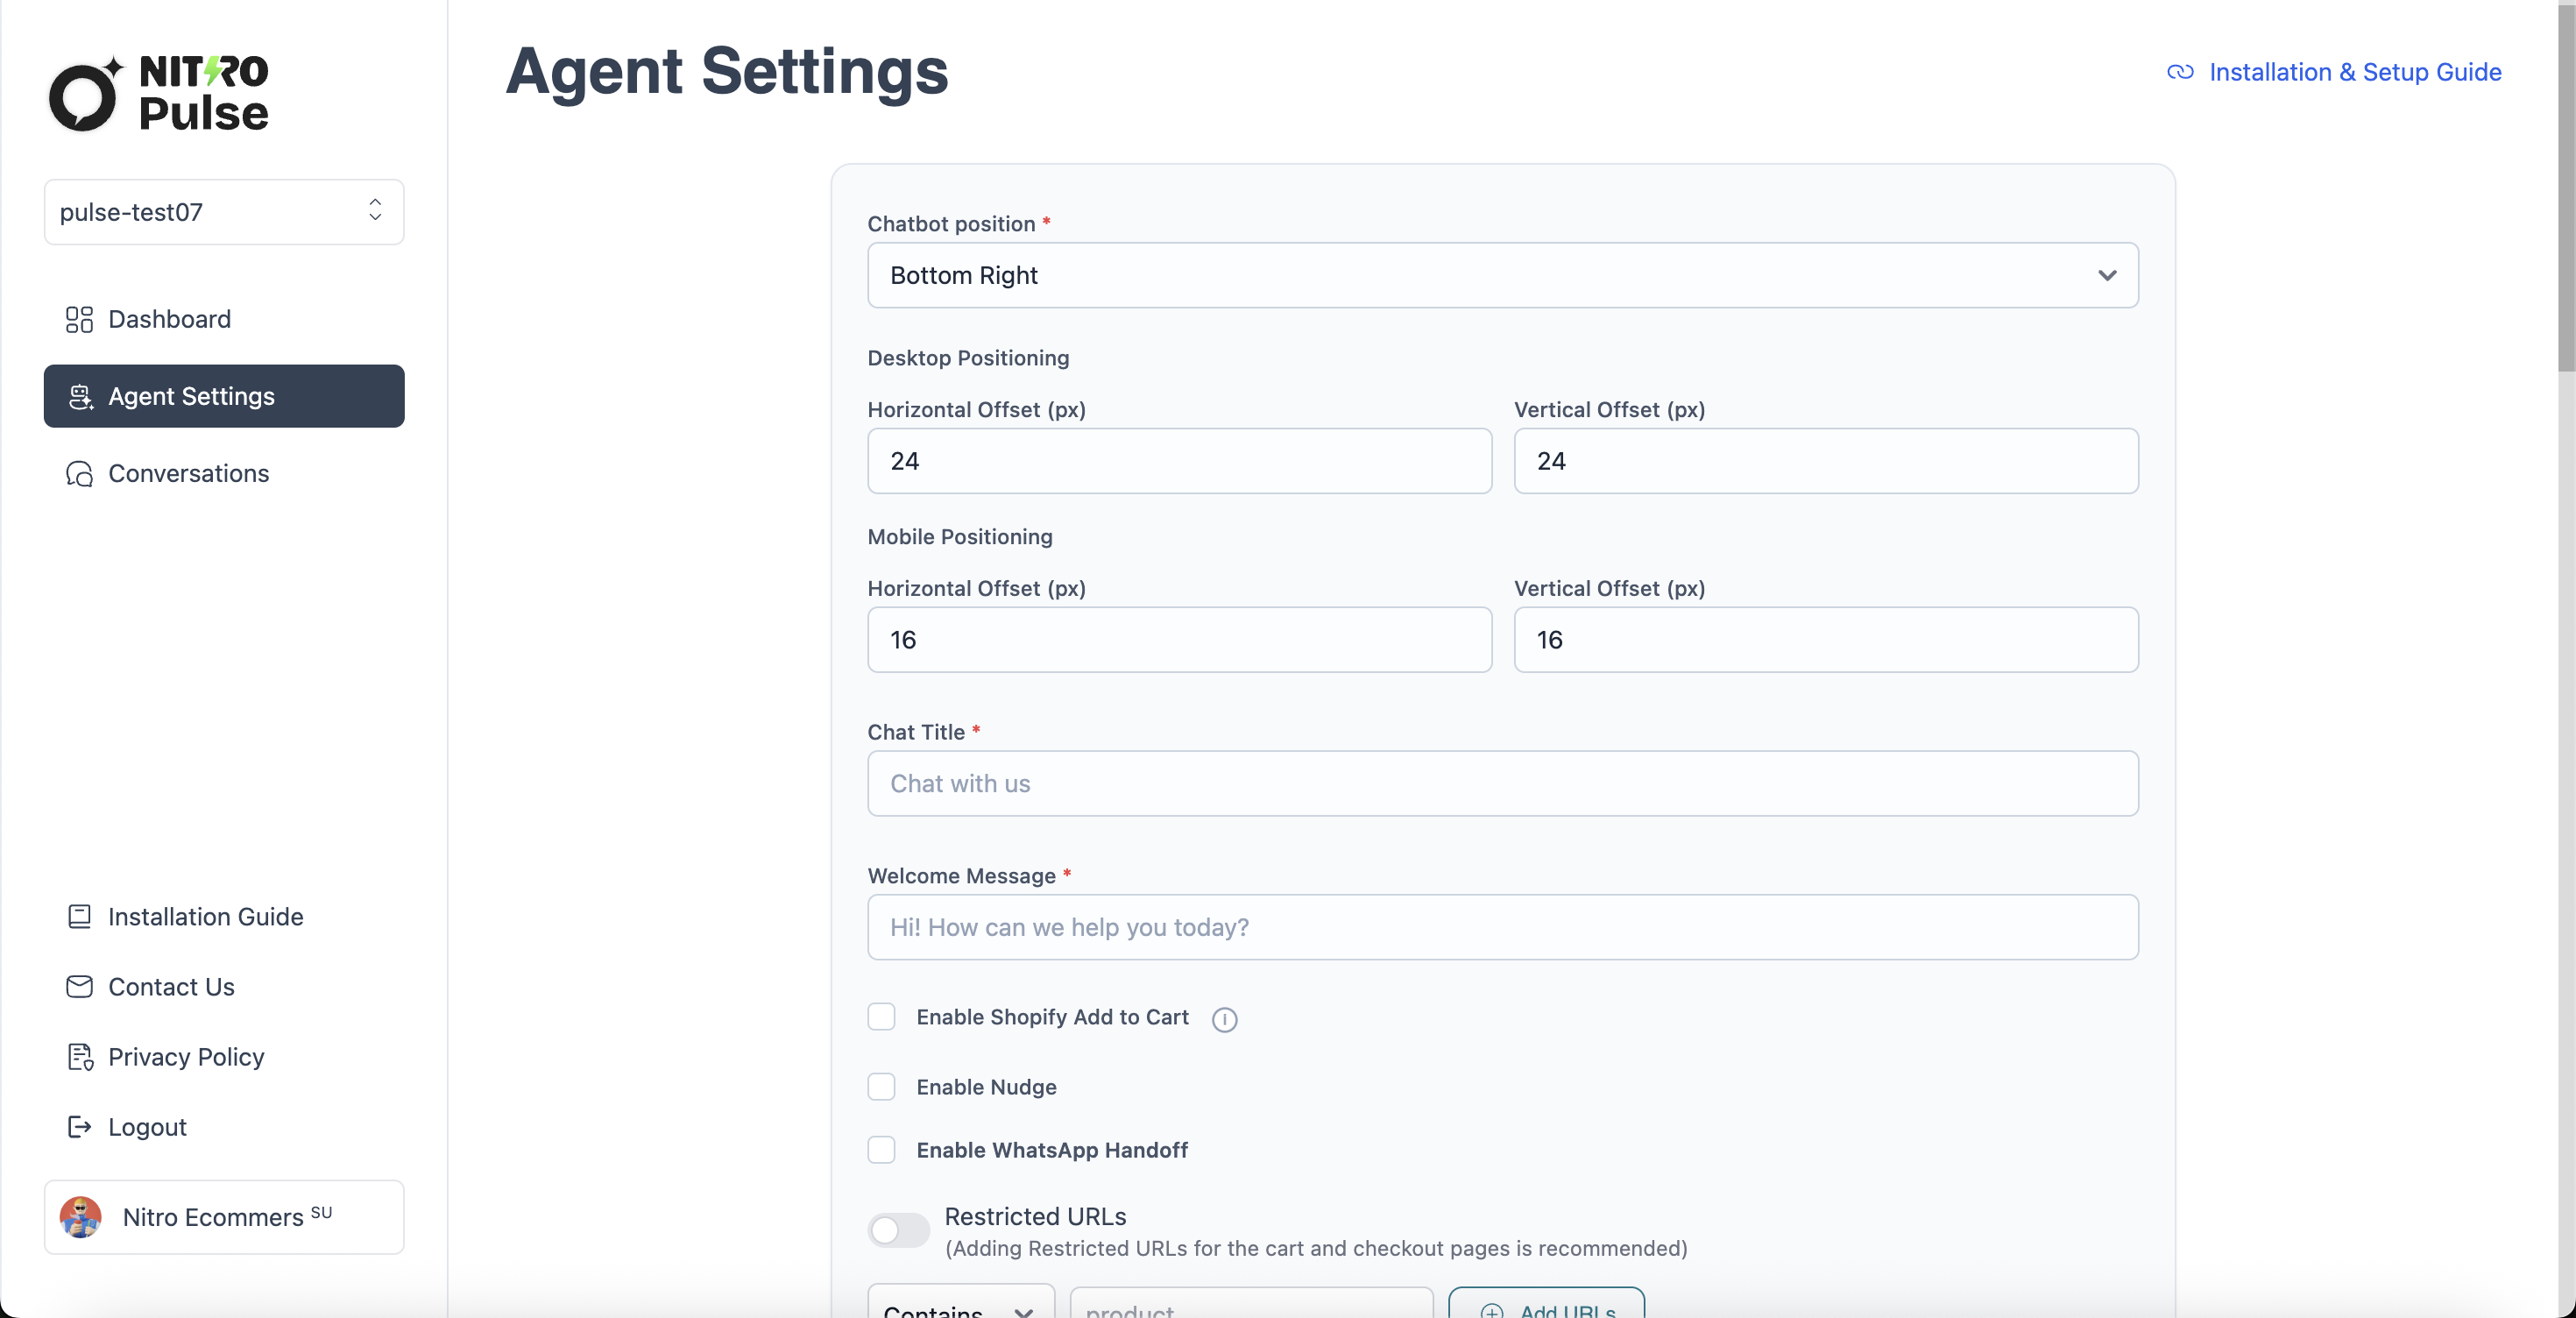
- Navigate to the Agent Settings tab.
- Fill in the required fields:
¶ • Company Name
¶ • Company Description
This acts as the system prompt for your agent.
Include details about your store, what you sell, product categories, target audience, and any instructions you want the AI to follow for generating accurate responses.
¶ Example Company Description:
- Store Name: Blue Tokai Coffee Roasters
- What Store Is Selling: Specialty Indian coffee sourced directly from estates
- Products: Roasted coffee beans, single-origin coffees, blends, cold brews, brewing gear, coffee accessories, merchandise
- Categories: Single-origin, blends, cold brew, equipment, accessories
- About Store: Transparent sourcing, award-winning farms, expert roasting, continuous learning culture, precision brewing practices, quality-focused team, redefining Indian coffee culture
¶ • Assistant Persona
(e.g., customer support assistant)
- After completing all mandatory fields, click Save Settings.
¶ Note:
Without completing the AI Assistant Settings, the AI chatbot will not function.
Please ensure you register and configure your assistant before using the chatbot.
¶ 2. Enable the Chatbot in Shopify
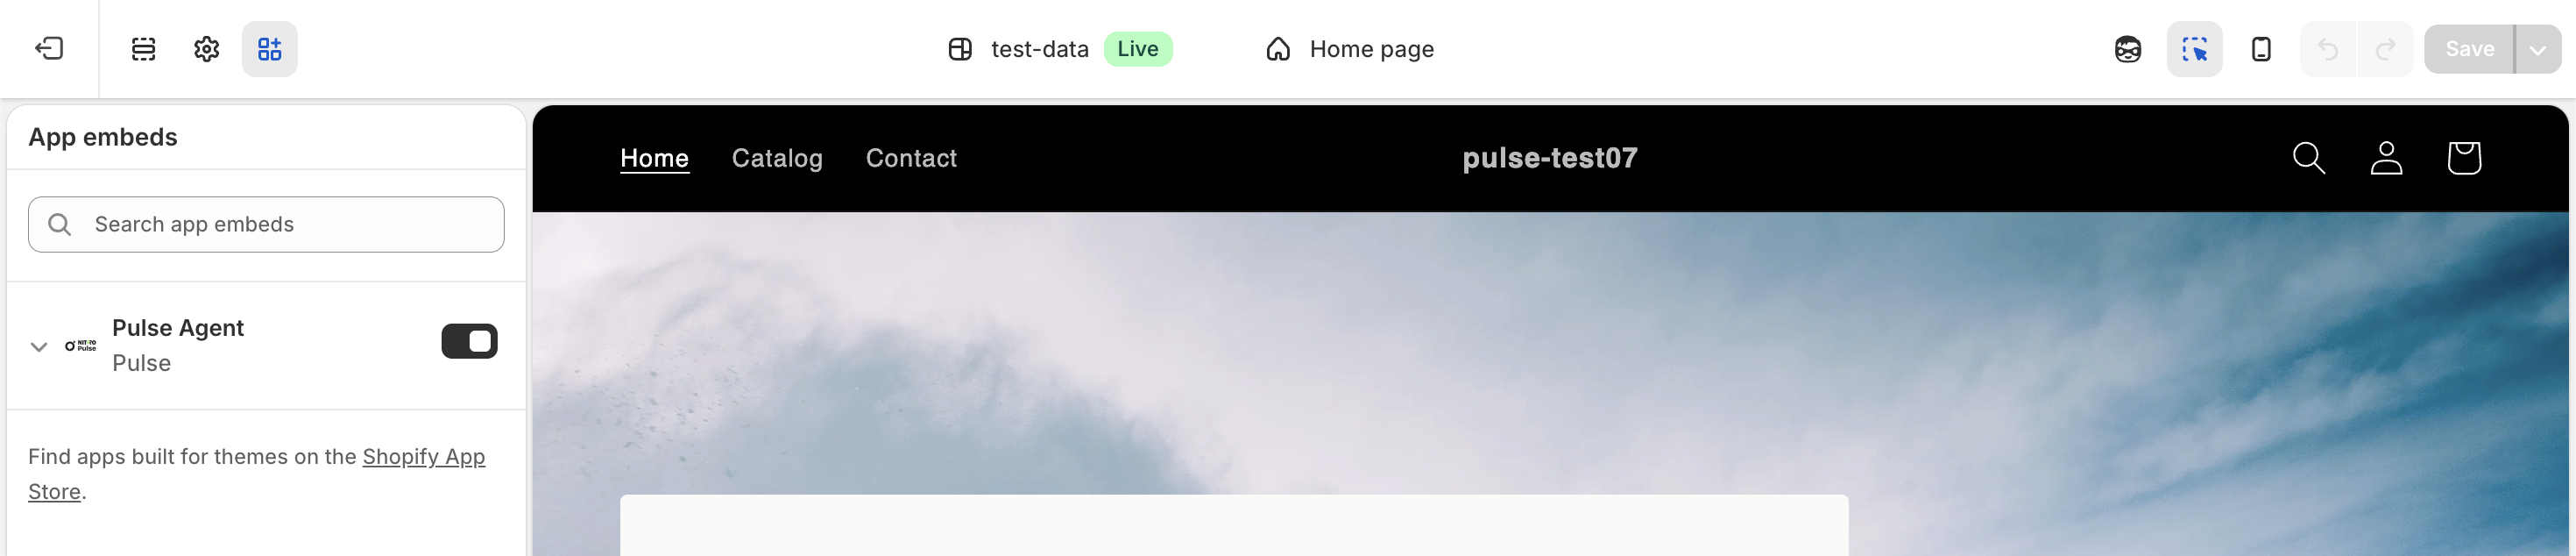
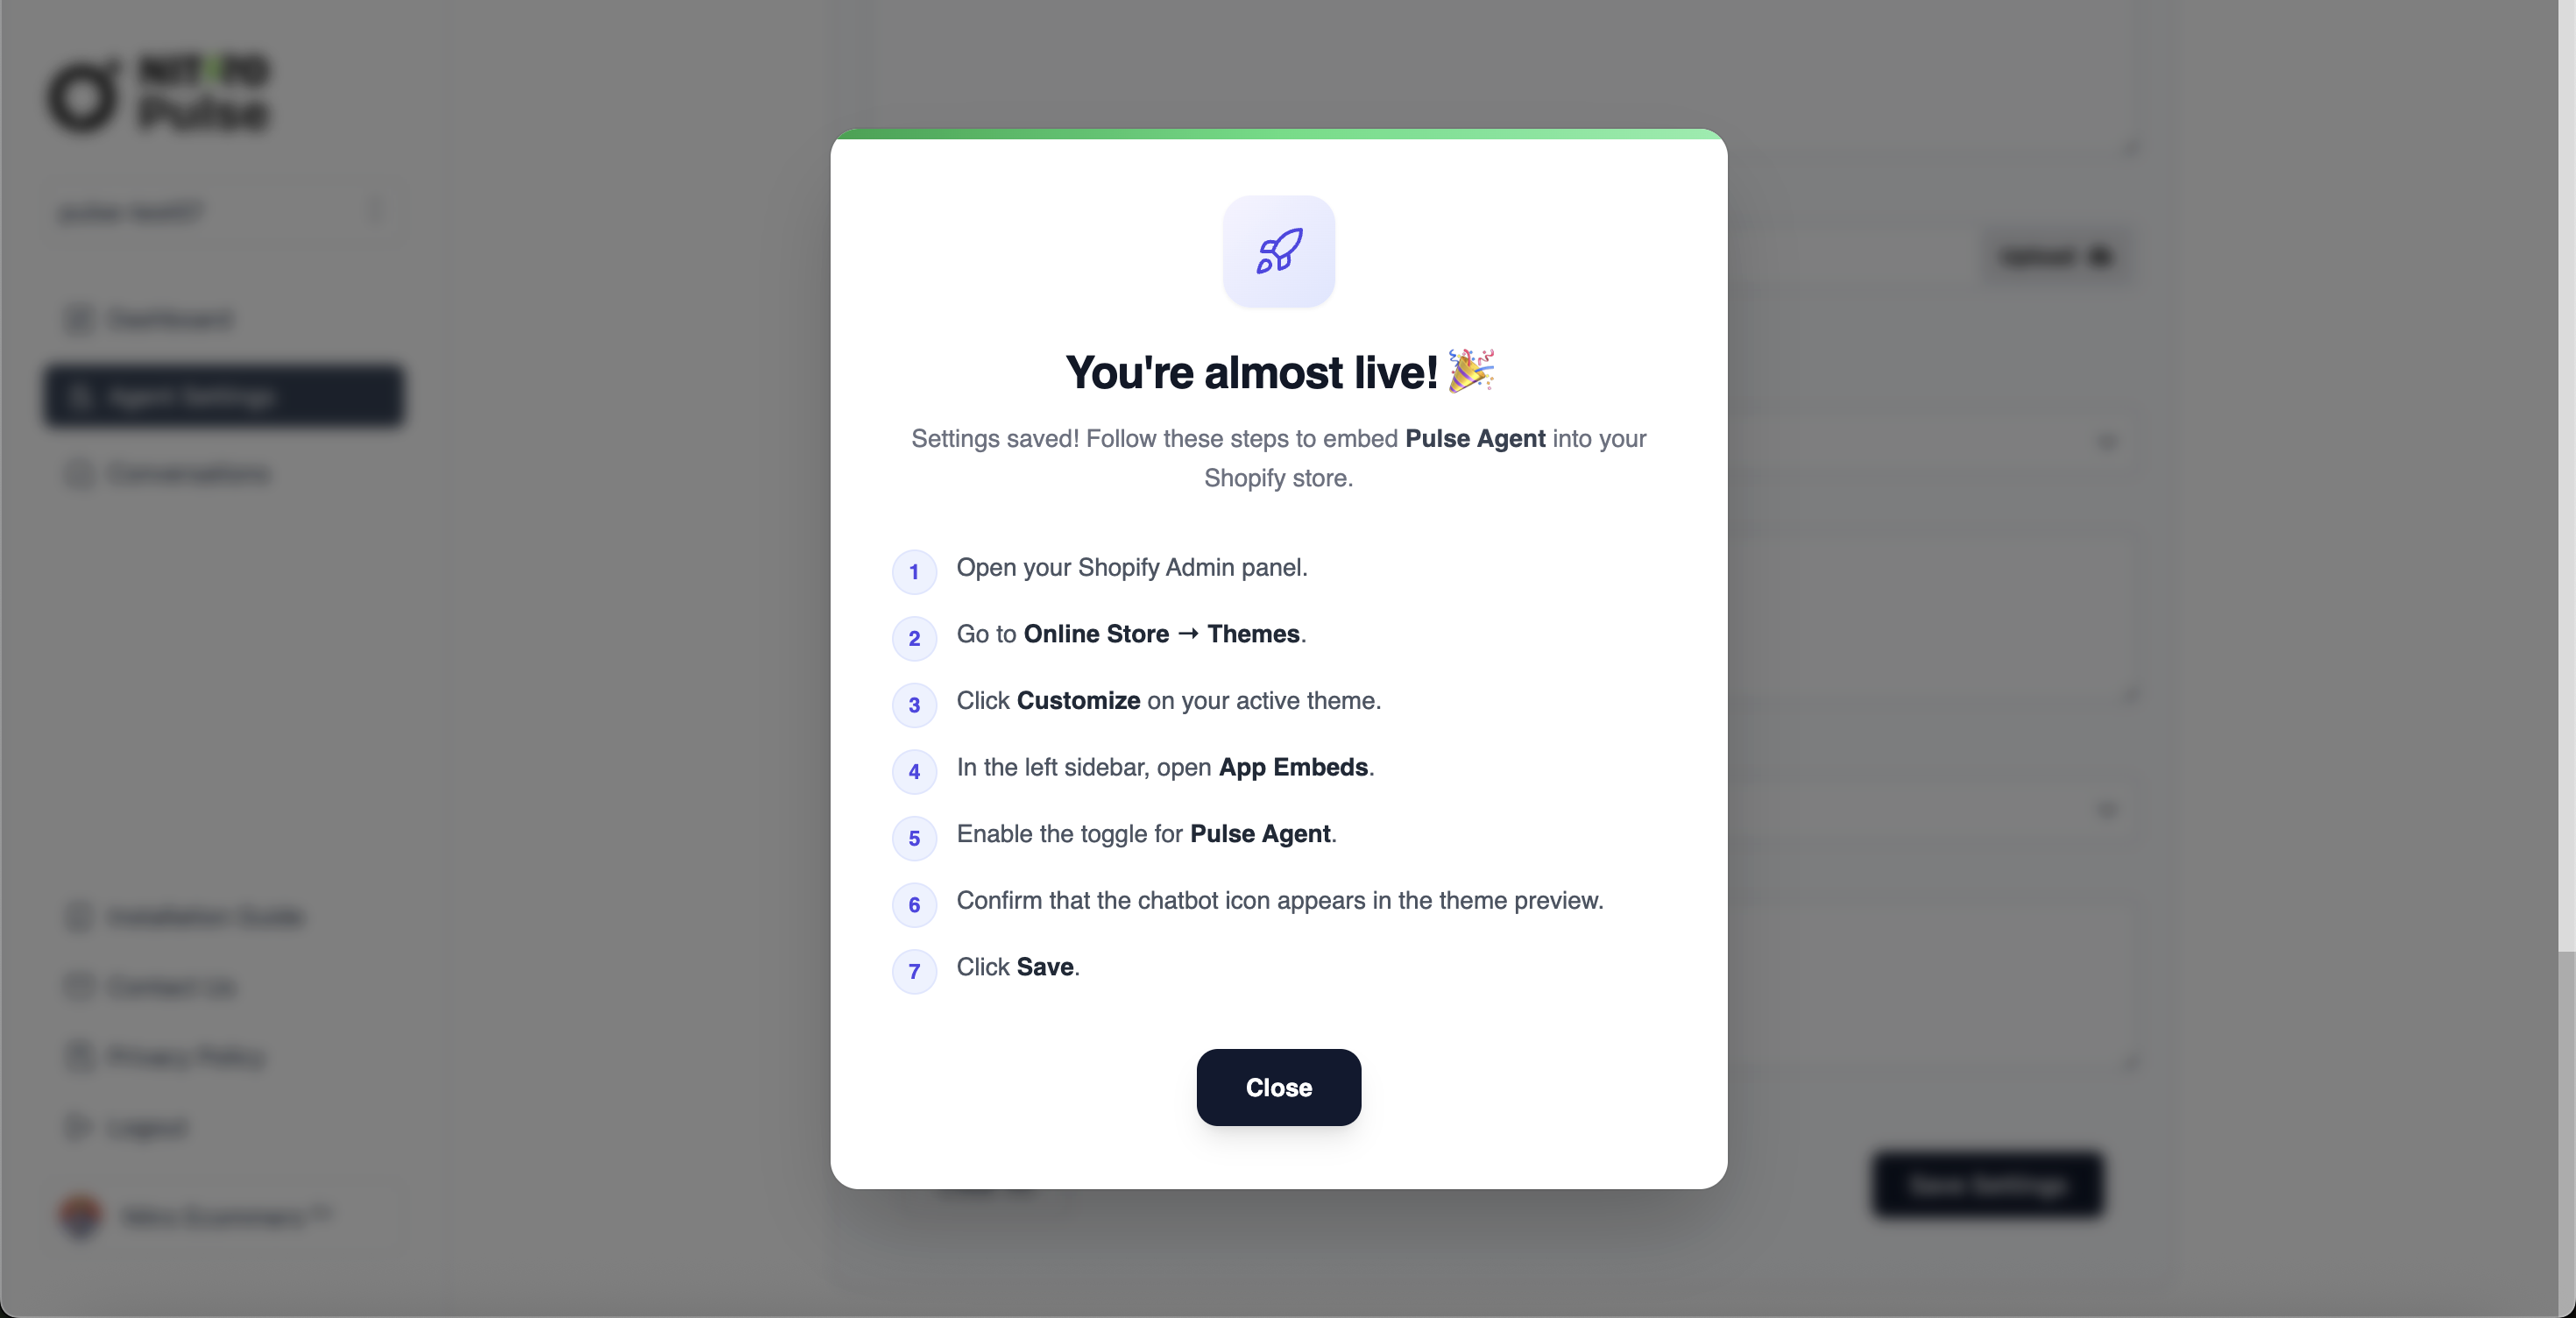
- Open your Shopify Admin panel.
- Go to Online Store → Themes.
- Click Customize on your active theme.
- In the left sidebar, open App Embeds.
- Enable the toggle for Pulse Agent.
- Confirm that the chatbot icon appears in the theme preview.
- Click Save.
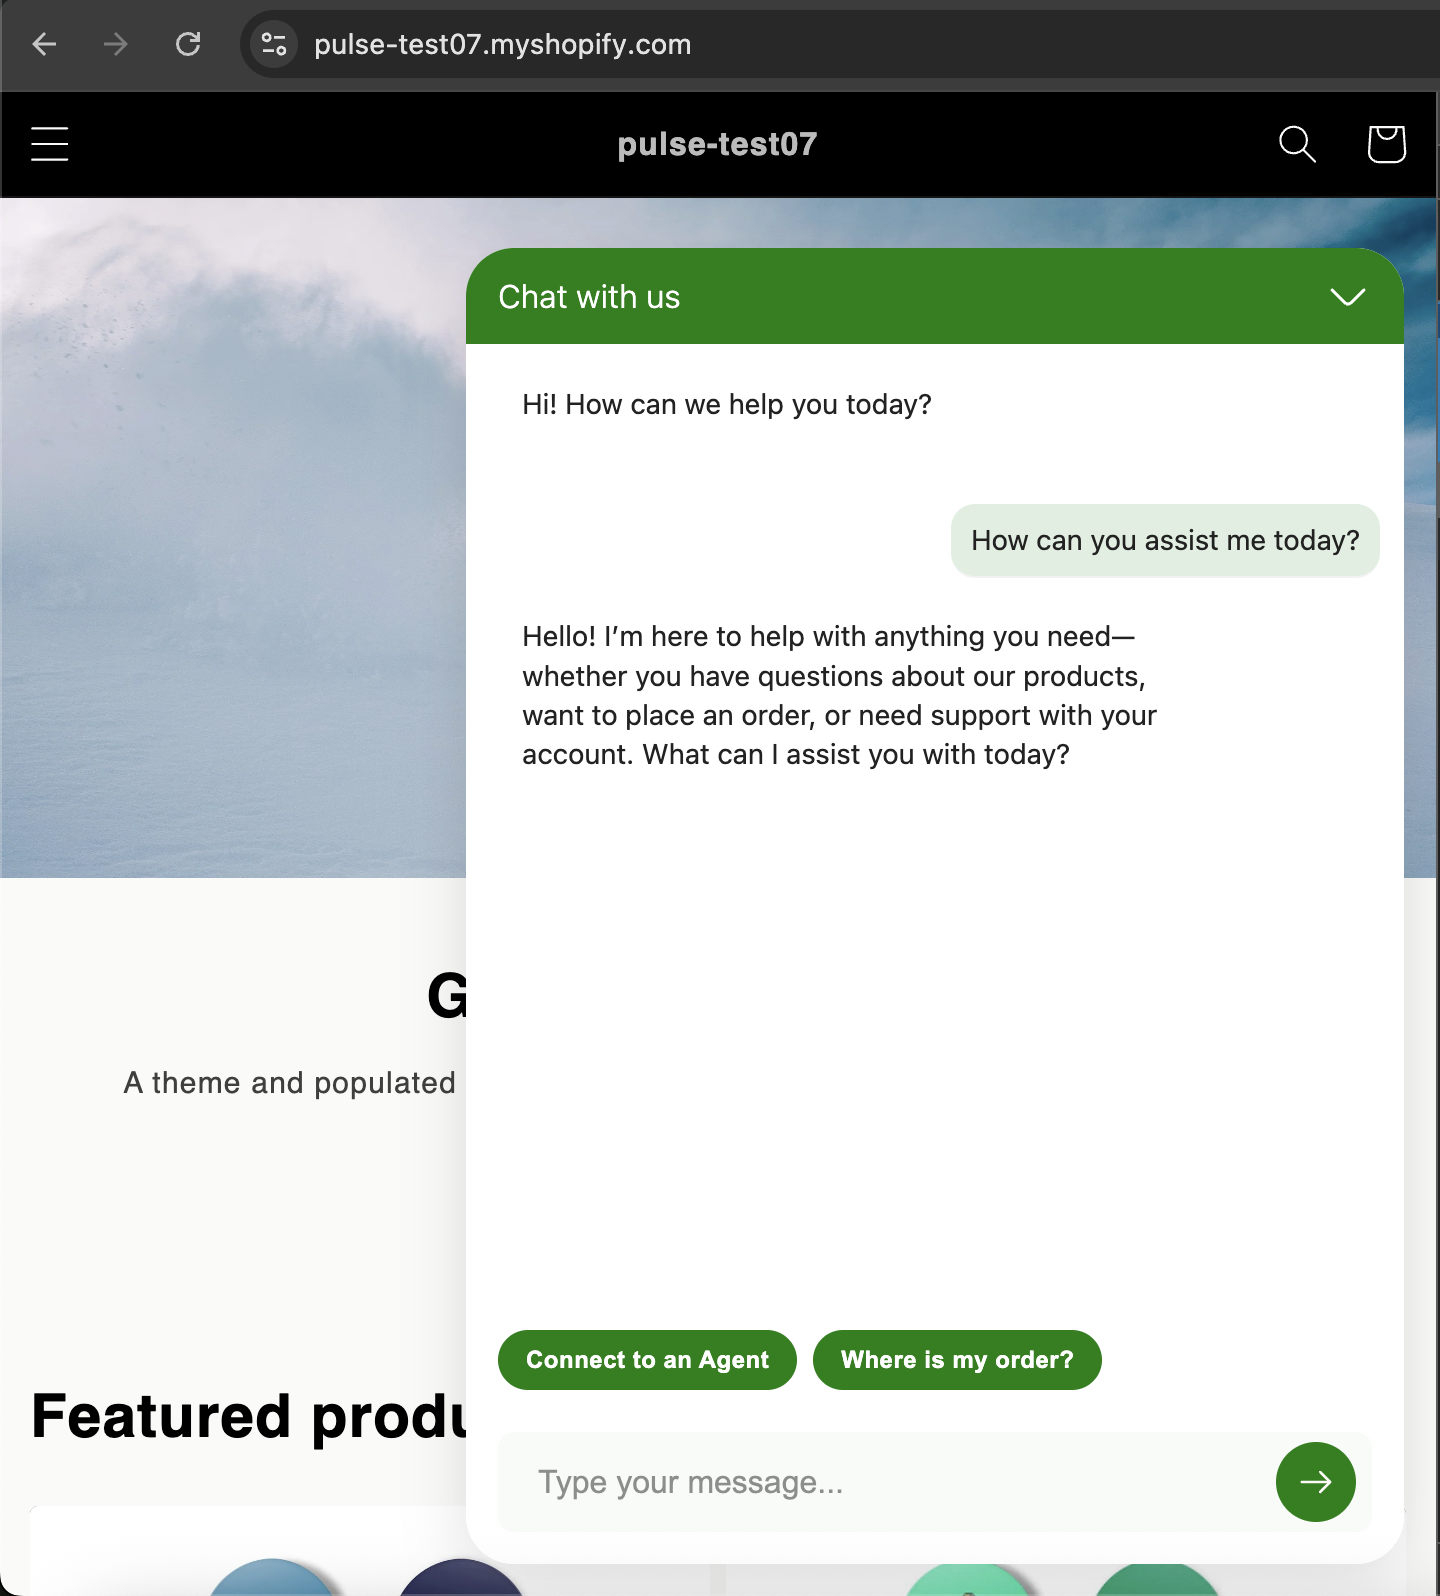
¶ 3. Test the Chatbot on Your Store
- Visit your store.
- Click the chatbot icon.
- Start a conversation and verify that the AI responds correctly based on the configuration.
¶ 4. View Conversation History
- Return to the Nitro Pulse Dashboard.
- Go to the Conversations tab (below Agent Settings).
- View all customer conversation histories in one place.
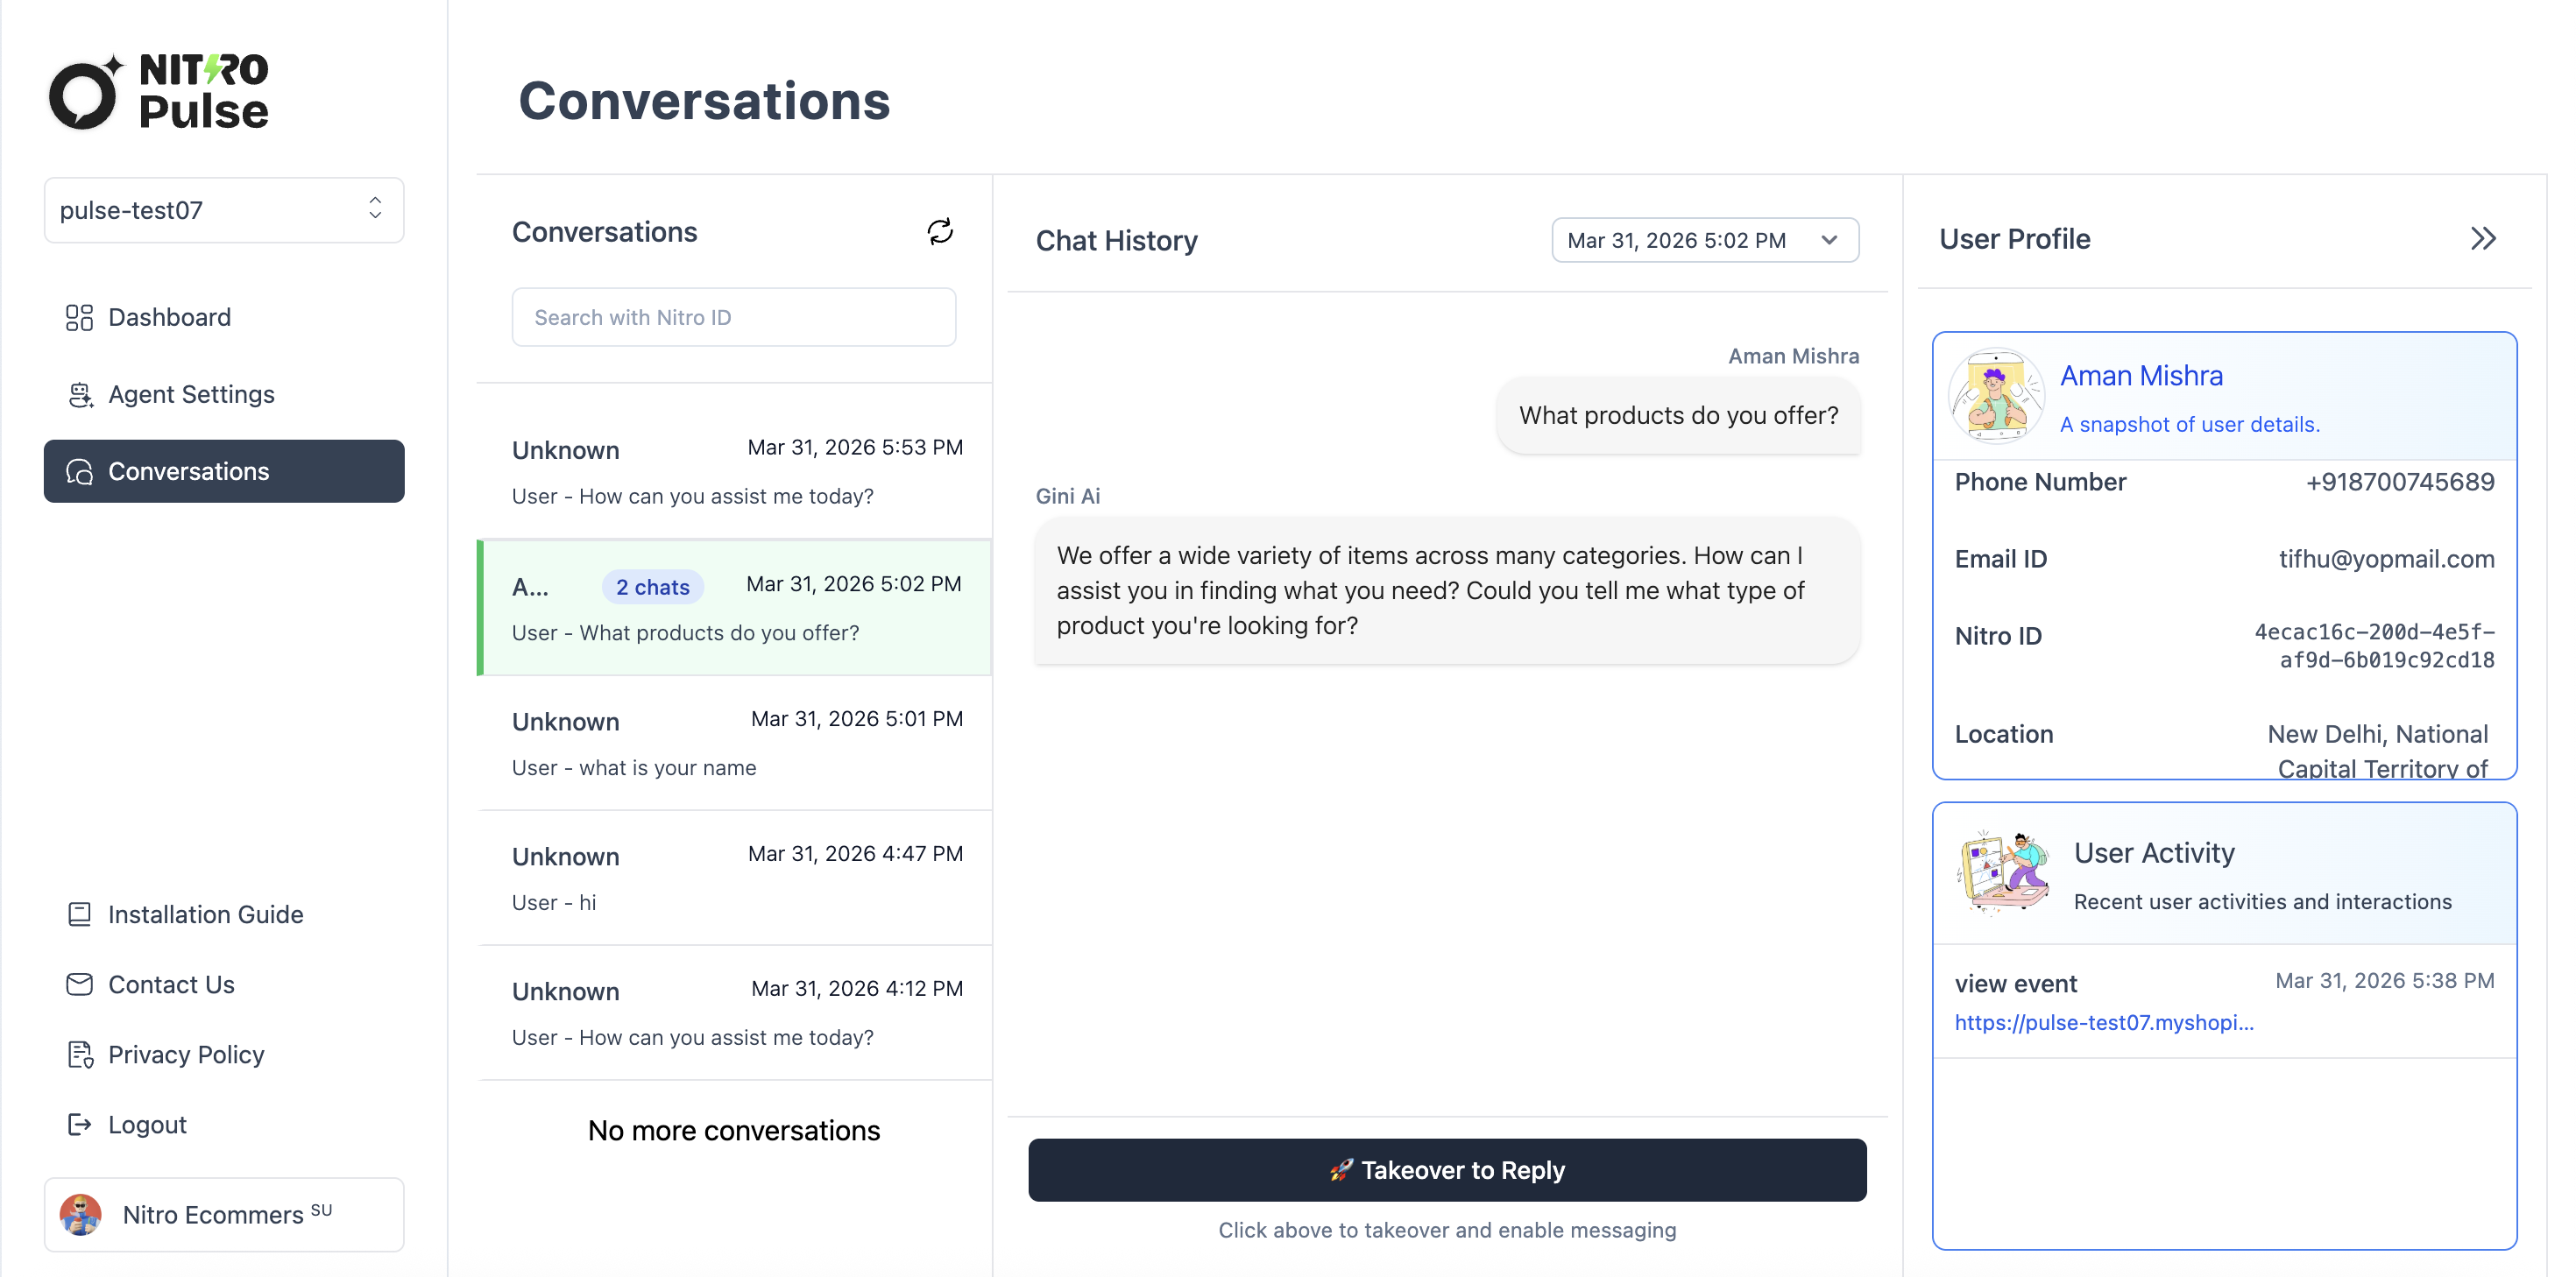
¶ 5. Agent Takeover (Manual Reply)
- Open the Conversations tab.
- Select the conversation you want to manage from the list.
- The conversation screen will display Chat History and User Profile.
- Click "Takeover to Reply".
- A confirmation modal titled "Takeover Conversation" will appear.
- (Optional) Enter a reason for the takeover.
- Click "Takeover" to confirm.
- The button will switch to "End Takeover", indicating manual mode is active.
- A text input box will appear for sending your manual response.
- Type your message and click Send.
- Your message will appear in Chat History, and the customer will see it in the store chatbot.
- To return control to the AI, click "End Takeover".